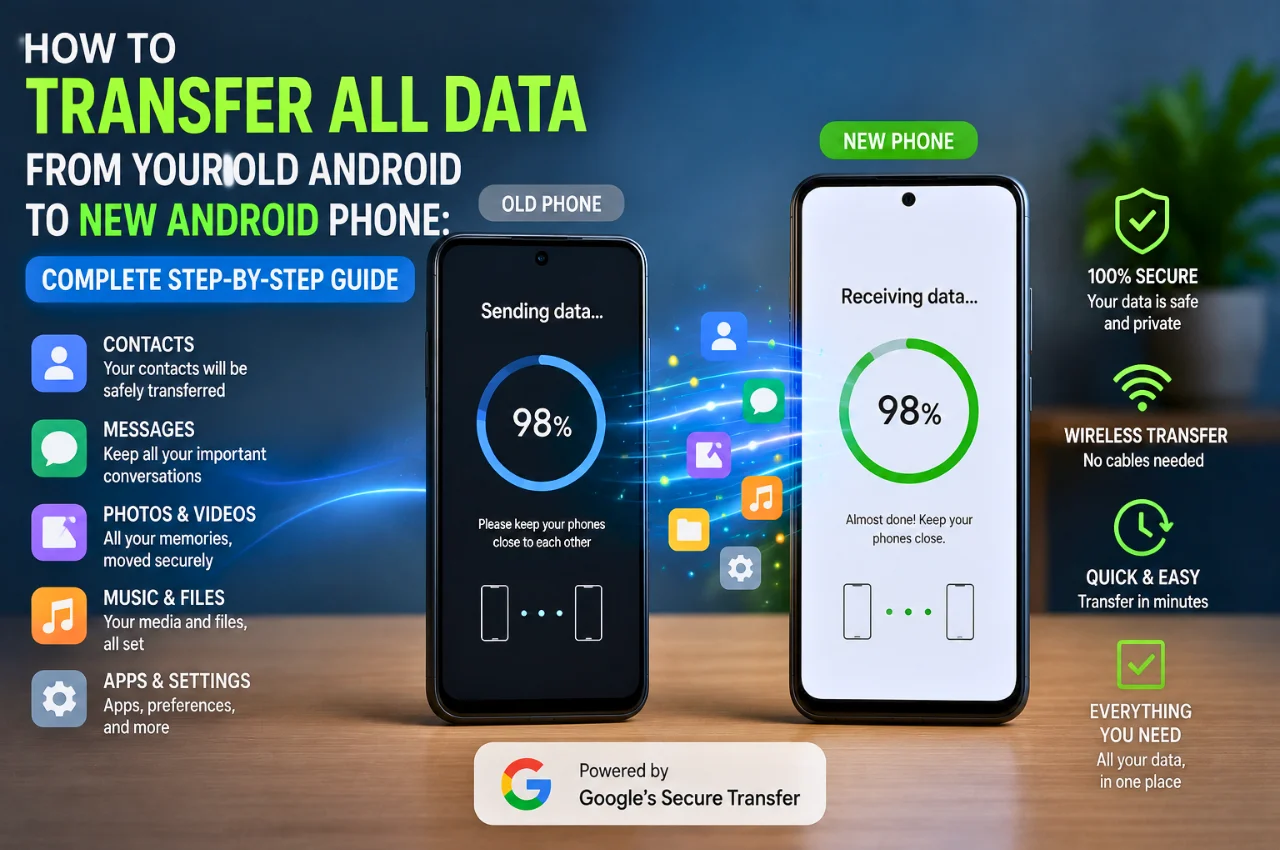
Getting a new Android phone is exciting. Figuring out how to move everything from your old one to the new one — less so.
Contacts, photos, WhatsApp chats, apps, notes, call history, saved passwords — years of your digital life are sitting on that old phone, and the idea of losing any of it is genuinely stressful. Most people either muddle through the process and discover they missed something important afterward, or they hand the phone to a technician and pay for something they could have done themselves in twenty minutes.
This guide covers every method available in 2026 — from the fastest one-tap automatic transfer to manual options for specific types of data — so you can move everything cleanly and confidently.
Before You Start — Four Things to Do First
Rushing straight into the transfer is the most common mistake people make. These four steps take five minutes and prevent most of the problems that come up during transfers.
Charge both phones to at least 60 percent battery. Transfers can take anywhere from a few minutes to over an hour depending on how much data you have. A phone that dies halfway through a transfer can leave your data in an incomplete state.
Connect both phones to the same Wi-Fi network. Most transfer methods use Wi-Fi Direct or Wi-Fi to move data quickly. Without a connection, transfers default to Bluetooth which is dramatically slower — moving 10GB of photos over Bluetooth can take hours instead of minutes.
Update your old phone’s software if possible. Having both phones on recent Android versions ensures compatibility and prevents transfer errors caused by software mismatches.
Do not factory reset your old phone until you have verified everything arrived safely on the new one. This sounds obvious but many people reset their old phone immediately after the transfer only to discover something did not come across. Keep the old phone for at least a few days as a safety net.
Method 1 — Google’s Built-In Transfer During Initial Setup (The Fastest Way)
If your new Android phone has not been set up yet — still showing the initial welcome screen — this is by far the easiest and most complete method available. Google’s built-in transfer wizard handles almost everything automatically.add naturally: You can also find detailed instructions on Google’s official Android transfer page
Turn on your new phone. You will see the Welcome screen with language selection. Follow the setup prompts until you reach the screen that asks “Copy apps and data.” Tap Copy.
The phone will ask whether you want to transfer from an Android device. Select the option to use a cable or to connect wirelessly — cable is faster for large amounts of data, wireless works if you do not have a USB-C to USB-C cable.
For cable transfer: connect your old phone to your new phone using a USB-C to USB-C cable. If your old phone uses Micro-USB, you will need a Micro-USB to USB-C adapter, available for under ₹100 at any mobile accessories shop.
For wireless transfer: both phones need to be on the same Wi-Fi network. The new phone will display a QR code. Open your old phone’s camera and scan it. The phones will establish a direct connection.
Once connected, your new phone will display a list of everything it can transfer — apps, contacts, SMS messages, call history, device settings, photos, videos, audio, and more. Check or uncheck items based on what you want to move. Tap Copy and wait.
For a phone with 32GB of data, expect approximately 20 to 40 minutes over cable and 40 to 90 minutes wirelessly. For larger phones with 128GB or more of data, a cable transfer is strongly recommended.
Once complete, your new phone will have your apps, photos, contacts, and settings. WhatsApp and some other apps will need their own separate restoration steps covered later in this guide.
Method 2 — Google Account Backup and Restore (For Phones Already Set Up)
If your new phone is already past the initial setup screen, the cable transfer wizard is no longer accessible. Google’s backup and restore system handles the same data through the cloud instead.
Step one: on your old phone, ensure your Google backup is current. Go to Settings, then System, then Backup. Make sure Back Up to Google Drive is turned on. Tap Back Up Now and wait for the backup to complete. You will see a timestamp confirming when the last backup occurred.
Step two: on your new phone, open Settings, then System, then Backup, and sign in with the same Google account. Select the backup from your old phone and restore it.
Alternatively, go to Settings, then General Management, then Reset on Samsung phones, and follow the restore from backup option.
What Google backup includes: apps and their data, SMS messages, call history, contacts, calendar events, Wi-Fi passwords, device settings, display preferences, and wallpaper.
What Google backup does not include: photos and videos (those are handled by Google Photos separately), WhatsApp messages (covered below), and some third-party app data where the developer has disabled backup for security reasons such as banking apps.
The restore process downloads your apps from the Play Store and restores their data. Depending on your internet connection and the number of apps, this can take anywhere from 15 minutes to a few hours.
Method 3 — Samsung Smart Switch (For Samsung to Samsung Transfers)
If you are moving from one Samsung phone to another Samsung phone, Smart Switch is the best tool available and handles significantly more data than Google’s standard backup — including text message history, call logs, Samsung-specific settings, Samsung Health data, and more.
Smart Switch comes pre-installed on all Samsung Galaxy phones. If it is not visible on your phone, search for it in the Apps list or download it free from the Galaxy Store or Google Play Store.
Open Smart Switch on both phones. On your old Samsung phone, tap Send Data. On your new Samsung phone, tap Receive Data, then select Galaxy and Android as the source.
For cable transfer: connect the two phones using a USB-C cable. When prompted, tap Trust on both devices. Select the data categories you want to transfer and tap Transfer.
For wireless transfer: tap Wirelessly when prompted on both phones. They will connect via Wi-Fi Direct — no internet connection required. Select your data and tap Transfer.
Smart Switch transfers apps, contacts, messages, photos, videos, music, documents, settings, and Samsung-specific data like Samsung Health records and Samsung Notes. It is the most comprehensive Samsung-to-Samsung transfer method available and is the recommended approach for anyone upgrading within the Samsung ecosystem.
Method 4 — Transferring WhatsApp Separately
WhatsApp is not included in Google’s standard backup system and requires its own specific transfer process. If you do not do this separately, you will lose your complete chat history — including all photos, videos, voice notes, and documents shared in those chats.
Before starting the transfer, ensure WhatsApp backup is current on your old phone. Open WhatsApp, go to Settings, then Chats, then Chat Backup, then Back Up Now. Wait for the backup to complete. The backup goes to Google Drive linked to your Google account.
On your new phone, install WhatsApp from the Play Store. Enter your phone number. WhatsApp will detect the backup in your Google Drive and offer to restore it. Tap Restore. Your complete chat history — including all media — will be restored.
For the restoration to work, you must use the same phone number on the new phone, the same Google account on the new phone, and have sufficient Google Drive storage available.
If your Google Drive storage is full, WhatsApp backup will fail and you will not be able to restore your chats. Free up Google Drive space before initiating the transfer if storage is limited.
After restoration, verify a few chats to confirm media and messages arrived correctly before you consider the WhatsApp transfer complete.
Method 5 — Transferring Photos and Videos Using Google Photos
Photos and videos are often the most irreplaceable data on any phone, and they deserve their own careful attention rather than being bundled into a general transfer.
If Google Photos backup is enabled on your old phone — which it should be if you have been following good backup practices — all your photos are already in the cloud and will automatically appear on your new phone the moment you sign into the same Google account.
To verify backup is enabled on your old phone: open Google Photos, tap your profile icon in the top right corner, tap Photos Settings, then Backup. Confirm that Backup is on.
On your new phone, simply open Google Photos and sign into the same Google account. Your entire photo library will appear and sync over Wi-Fi. Photos open immediately from the cloud even before they fully download to local storage.
If you want your photos stored locally on the new phone rather than only in the cloud, open Google Photos, tap your profile icon, tap Photos Settings, then Device storage, and enable Keep on Device for your most important albums.
For anyone who does not use Google Photos, transferring photos manually through a computer is a reliable alternative. Connect your old phone to a Windows PC via USB cable, select File Transfer mode, and copy the DCIM folder to your computer. Then connect the new phone and paste the folder into the same location.
Method 6 — Transferring Contacts
If your contacts are saved to your Google account — which is the recommended practice — they transfer automatically when you sign into the same Google account on your new phone. No additional steps needed.
To check where your contacts are stored: open the Contacts app on your old phone. Look at the source of each contact — contacts saved to Google show your Gmail address next to them, while contacts saved to Phone are stored only on the device.
If any contacts show Phone as the source, export them before the transfer. Open the Contacts app, tap the three-line menu or settings icon, and select Export. Choose Export to VCF file and save it. Transfer this VCF file to your new phone using any method — WhatsApp to yourself, email, USB cable, or Google Drive. On your new phone, open the file and import it into your contacts.
After the transfer, go to contacts.google.com on a browser and sign in with your Google account to verify your complete contact list is there.
Method 7 — Transferring Apps
When you restore from a Google backup on your new phone during setup, Android automatically reinstalls all the apps that were on your old phone. They download from the Play Store one by one in the background.
For apps that are no longer on the Play Store, or apps you installed from outside the Play Store, you will need to find them and install them manually.
One thing worth noting: app data — your saved game progress, app settings, login details — transfers along with the app when using Google backup, but only for apps whose developers have enabled backup. Many casual games back up progress through a Google Play Games account, which restores automatically. Banking apps and some financial applications explicitly disable backup for security reasons and will require you to log in fresh on the new phone.
Method 8 — Transferring SMS Messages
SMS messages are included in Google’s standard backup, so they restore automatically if you use the Google backup method. However, only your messages from the default SMS app are included — messages in WhatsApp, Telegram, or other messaging apps need their own separate backup as described above.
If you want to ensure SMS messages transfer even without Google backup, SMS Backup and Restore is a free app on the Play Store that exports your complete SMS and call log history to a file that can be transferred manually to your new phone.
Brand-Specific Transfer Tools in India
Beyond Google’s universal tools, India’s most popular Android brands each have proprietary transfer apps that work particularly well within their own ecosystems.
OnePlus phones have Switch to OnePlus built into Settings, which handles complete device migration from other Android phones including some cross-brand transfers.
Xiaomi and Redmi phones have Phone Clone, accessible from Settings under Additional Settings. This app transfers contacts, messages, photos, videos, music, apps, and settings wirelessly between Xiaomi devices and from other Android phones.
Realme phones have Clone Phone under Settings or the Phone Manager app. It works similarly to Xiaomi’s Phone Clone for Realme-to-Realme transfers.
These manufacturer tools are often faster than Google’s wireless backup restoration for brand-to-brand transfers because they transfer data directly between the two devices rather than routing everything through the cloud.
What to Verify After the Transfer
Once the transfer is complete, spend ten minutes checking that everything important arrived correctly before you consider the process finished.
Check your contacts — open the Contacts app and look for a few specific people you communicate with regularly. Confirm names and numbers are correct.
Check your photos — open Google Photos and scroll through your recent photos. Verify the most recent photos you took are visible.
Check WhatsApp — open a few important chats and confirm messages and media are present.
Check key apps — open your banking app, your most-used productivity app, and any app with important saved data. Confirm they work correctly and your data or progress is intact.
Check your call history — open the Phone app and verify recent calls appear.
Check saved passwords — if you use Google Password Manager, open Chrome and go to passwords.google.com to confirm your saved passwords synced correctly.
Only after this verification is complete should you factory reset your old phone or hand it on to someone else.
Common Problems and How to Fix Them
Transfer stops midway: ensure both phones stay on the same Wi-Fi network throughout. Switching networks mid-transfer is the most common cause of incomplete transfers. Also ensure both phones stay charged above 20 percent.
WhatsApp restore fails: the most common reason is insufficient Google Drive space. Check your available Drive storage at drive.google.com and free up space before attempting the restore again.
Contacts did not transfer: check whether the contacts were saved to Phone rather than Google account on the old phone. Export them as a VCF file manually as described in Method 6.
Some apps show as not installed: apps that have been removed from the Play Store cannot be restored automatically. Search for them in the Play Store — sometimes apps have been renamed or replaced by a newer version. For apps that are genuinely unavailable, you will need to find alternatives.
Photos not showing on new phone: if Google Photos backup was not enabled on the old phone, photos are only on the old device. Connect the old phone to a computer and copy the DCIM folder manually, then transfer it to the new phone.
Transfer very slow over wireless: if the wireless transfer is taking much longer than expected, switch to a USB cable connection. Even an inexpensive USB-C to USB-C cable dramatically speeds up transfers compared to wireless.
Frequently Asked Questions
Will I lose my data if I switch to a new Android phone?
Not if you follow the steps in this guide. Google’s backup system, combined with WhatsApp’s own backup, covers the vast majority of data most people care about. The key is ensuring backups are current on your old phone before beginning the transfer.
Do I need a cable to transfer data between Android phones?
No — wireless transfer works for all the methods described in this guide. However, a cable is significantly faster for large amounts of data, particularly photos and videos. If you have more than 20GB of data to transfer, a cable is strongly recommended.
Can I transfer data from a very old Android phone to a new one?
Yes — Google backup works on Android 5.0 and above. Smart Switch works on Android 4.3 and above. For very old phones that do not support current backup methods, manually copying photos and contacts using a computer is the most reliable fallback.
How long does transferring data from one Android phone to another take?
It depends on how much data you have and which method you use. A cable transfer of 20GB typically takes 20 to 40 minutes. The same amount of data wirelessly takes 40 to 90 minutes. App restoration over Wi-Fi after a Google backup restore typically takes an additional 30 to 60 minutes as apps download in the background.
Will my WhatsApp messages transfer automatically?
WhatsApp messages do not transfer automatically as part of the general Android transfer — they need their own separate backup and restore process through Google Drive. This is covered in detail in Method 4 of this guide. As long as you follow those steps, your complete chat history including all media will be restored.
Is it safe to transfer data over Wi-Fi? Can anyone intercept it?
Wireless transfers between Android phones use Wi-Fi Direct — a direct device-to-device connection that does not route through your home router or the internet. The data travels directly between the two phones on an encrypted local channel. It is safe for home use.
Final Thoughts
Transferring data between Android phones used to be genuinely complicated. In 2026, it is largely automated — the biggest challenge is knowing which method to use for each type of data and doing them in the right order.
The approach that works for most people: use Google’s built-in transfer wizard during new phone setup for everything except WhatsApp, then restore WhatsApp separately from Google Drive backup, then verify Google Photos is syncing. That covers about 95 percent of what most users care about in under an hour.
Keep your old phone for a few days after the transfer and check it regularly against your new phone. Once you are confident everything arrived correctly, you can reset it or pass it on. Take your time with this step — the peace of mind of knowing nothing was lost is worth the extra few days of caution.